Diy Painting Techniques

Understanding the Basics of DIY Painting
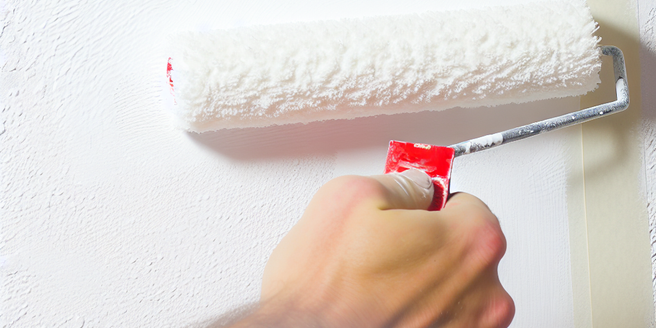
Before diving into the world of DIY painting, it’s important to grasp the fundamentals. Start by selecting the right type of paint for your project, whether it’s acrylic, oil, or water-based. Consider the surface you’re painting and any pre-existing conditions, such as old layers of paint or damage. Safety is paramount, so ensure proper ventilation and use protective gear like masks and gloves. Don’t forget to prep your workspace by covering floors and furniture. Priming surfaces can enhance color and durability. Practicing on small patches or surplus materials can build confidence. Understanding brush types and roller techniques will result in a smoother finish. Lastly, patience is key; allow each coat to dry properly to avoid smudging or uneven textures.
Essential Tools and Materials Needed
Starting a DIY painting project requires assembling the right tools. Invest in quality brushes of varied sizes, ensuring they’re designed for your chosen paint type. Rollers are essential for large surfaces; consider those with changeable covers for different textures. Paint trays, stir sticks, and painter’s tape are vital for efficiency and precision. Drop cloths, preferably cloth over plastic, protect floors and furniture. Sandpaper is necessary for surface preparation, helping to smooth out imperfections. High-quality primers should match your main paint choice and aids in adhering the paint to surfaces. Masking tape is crucial for clean lines, especially for intricate designs. A sturdy ladder ensures safety when reaching high surfaces. Measure your space to calculate the amount of paint needed and always have a little extra for touch-ups.
Techniques for Preparing Surfaces
Proper surface preparation is pivotal in achieving a professional finish. Start by thoroughly cleaning the surface to remove dust, grease, and grime—use a gentle detergent for stubborn stains. Scrape off loose or peeling paint with a putty knife, being careful not to damage the substrate. Repair any cracks or holes with filler, let it dry, then smooth with sandpaper. Sanding not only levels the surface but helps the paint adhere better. For glossy surfaces, lightly sand them to dull the finish. Rinse the area with a damp sponge to remove sanding dust. Depending on the surface, applying a quality primer can block stains and ensure even coverage with fewer coats. Let the primer dry completely before painting. These steps create a flawless base, ensuring vibrant and lasting results.
Step-by-Step Guide to Brush Painting
Brush painting can produce exquisite details, making it integral for trims or intricate designs. Begin by selecting a suitable brush—angled brushes are ideal for corners, while flat brushes work well on large, flat surfaces. Dip the brush about one-third into the paint, tapping gently on the side of the can to remove excess. Start with edges and move towards the center, ensuring consistency in stroke direction. Use long, smooth strokes to avoid streaks, and overlap slightly to maintain an even finish. Don’t rush; allowing each layer to dry before applying the next avoids visible brush lines. For corners and edges, hold the brush at an angle, ensuring stability for precision. Clean your brushes thoroughly between uses to maintain their condition and prevent color mixing. Regular maintenance extends the life of your brushes.
Innovative DIY Texturing Methods
Adding texture to your walls can transform a room, bringing depth and character. One popular method is sponging, where a sponge is used to apply or remove glaze for a textured effect. Another technique is rag rolling, utilizing a rolled cloth to create dynamic patterns. For a vintage look, try distressing with sandpaper for selective wear exposure. Stippling involves dabbing the surface with a brush or sponge to create a dotted texture. Troweling with joint compound can imitate the look of plaster or stucco, and combing, where tools create linear patterns, adds geometric designs. Experiment with these techniques on a sample board first to refine your approach. Mixing and matching methods can create unique, personalized designs. Consider the room’s theme for cohesive decor and complementing existing textures and colors.
Finishing Touches for Professional Results
Once painting is complete, finishing touches ensure a polished, professional outcome. Start by removing tape carefully to avoid peeling the paint. Inspect for any missed spots or uneven areas which might require touch-ups. Cleaning surfaces with a damp, soft cloth removes any smudges or dust. Apply a sealant, particularly on high-touch or outdoor areas, to enhance durability and vibrancy. For trim or furniture, consider a varnish or polyurethane finish to protect against wear. Adding wall decor or accents should complement the newly painted area—consider contrasting frames or metallic details. Ensure continuity by keeping hardware, such as door handles or light fixtures, cohesive in color and style. Finally, appreciate your work for a day or two before replacing furniture to prevent accidental scuffs or damage.